Leapfrog RMM Tool
Leapfrog RMM tool helps us to remotely manage and monitor your devices. Monitoring simply collects the system logs which is available on all operating systems, these log file record each and every event that takes place on your device. By gathering all these logs in one central location helps us to easily read the logs against our predefined rules that helps us to identify system issues and hardware faults at very early stages.
Our RMM tool also comes bundle with our primary remote access software TeamViewer and our secondary software Splashtop. RMM tool installs TeamViewer and Splashtop along with it and these tools require system access on macOS.
Note: You may see warnings such as “Your screen is being observed” on your macOS lock screen. This is due to how Splashtop maintains access to the screen recording process. Our systems are designed with customer privacy and security in mind. Our support engineers are only able to access a customer’s device through TeamViewer or Splashtop if there is a ticket logged by the customer on our helpdesk and once the support engineers receive clear authorization to remotely login. We do have a very strict access control logging system and each action of the engineer is recorded.
If you do have questions or concerns regrading this, feel free to get in touch with us to discuss your concerns.
Follow the steps below to successfully install the RMM tool on your Mac.
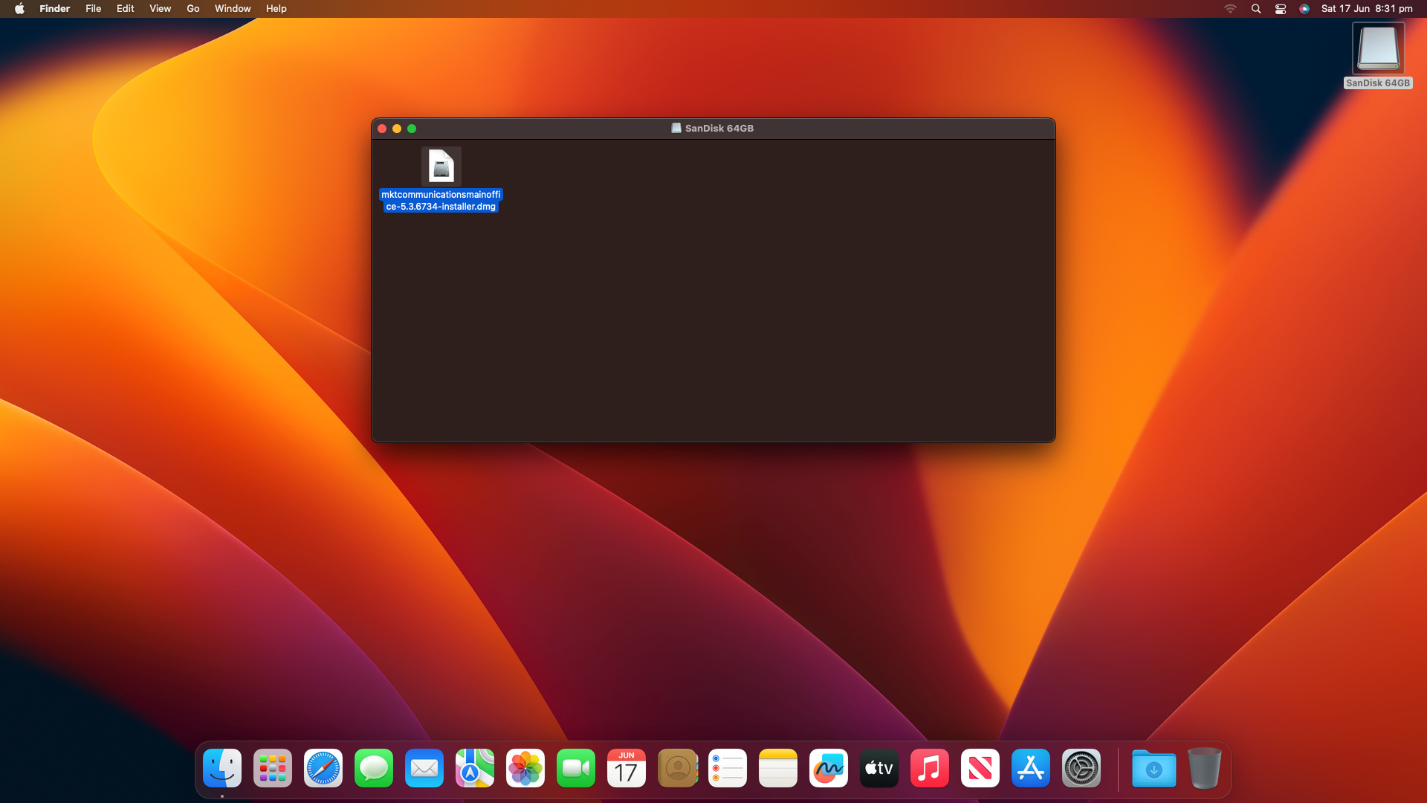
- Open up the RMM tool download link in any web browser, and download the DMG file.
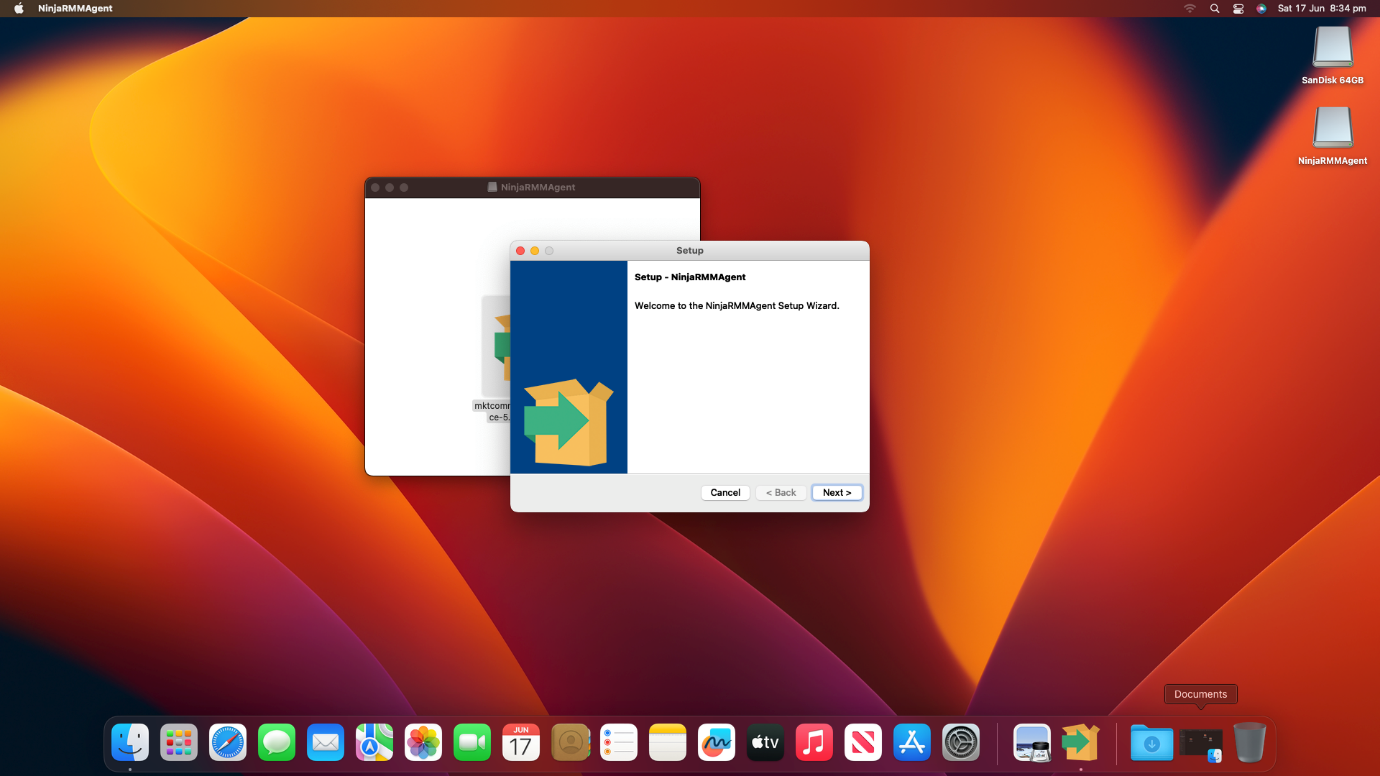
- Next double click and the file will mount the DMG to access the installer file. Double click on the installer.

- You will then need to enter the login password of your mac. Once done click on Next to start the install.
- You will then see an install complete message, simply click finish to complete the setup. The RMM tool will now silently install TeamViewer and Splashtop, this will take a couple of minutes, once the installation of those tools is complete. You will see pop-up notifications like you see on the below screenshot along side Review System Access notification from TeamViewer and Splashtop. Close those off and jump to the next step.

- Click on Setting and locate Privacy & Security.
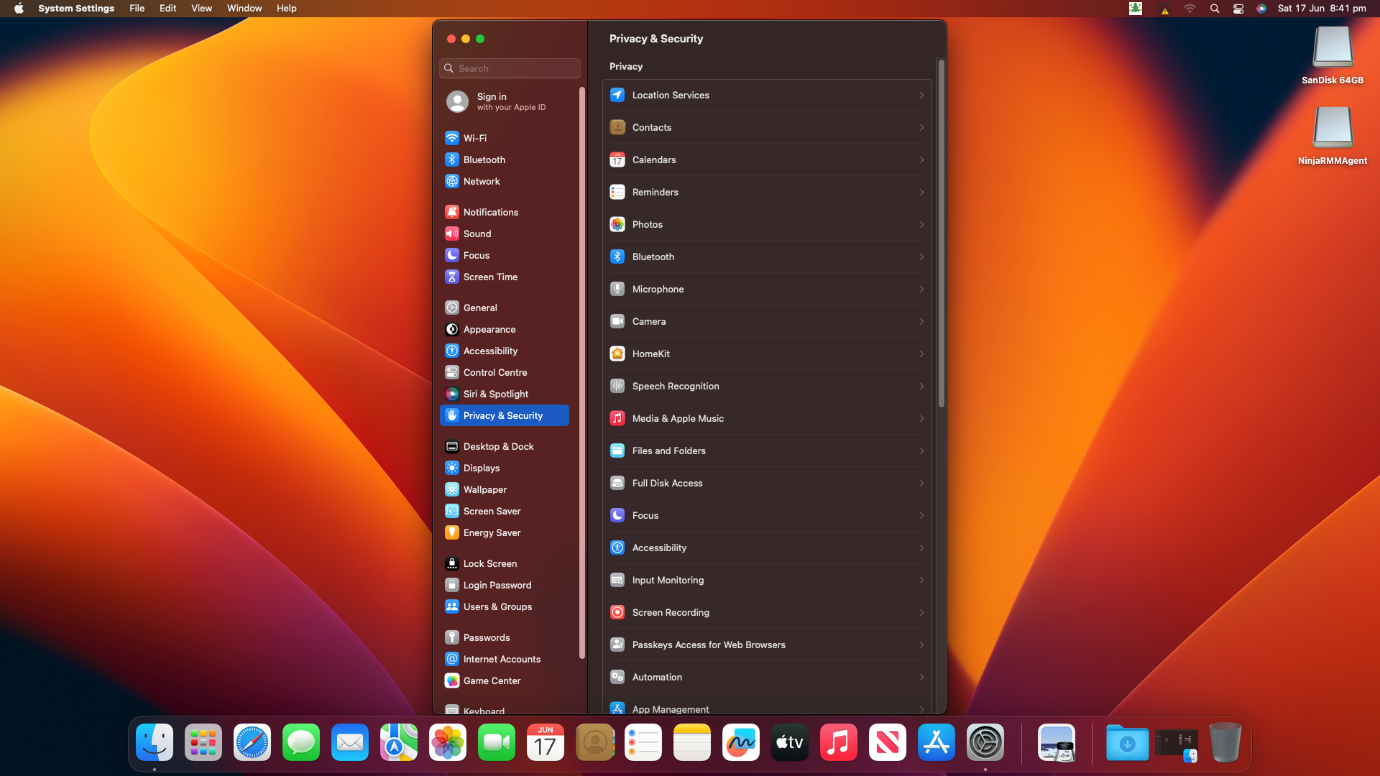
- Let’s start with Full Disk Access, The RMM tool, TeamViewer and Splashtop requires Full Disk Access so that the tools can read and write to disk when required. Click on Full Disk Access under Security & Privacy. Once inside toggle the switch to On for ninjarmm-macagent and Splashtop.
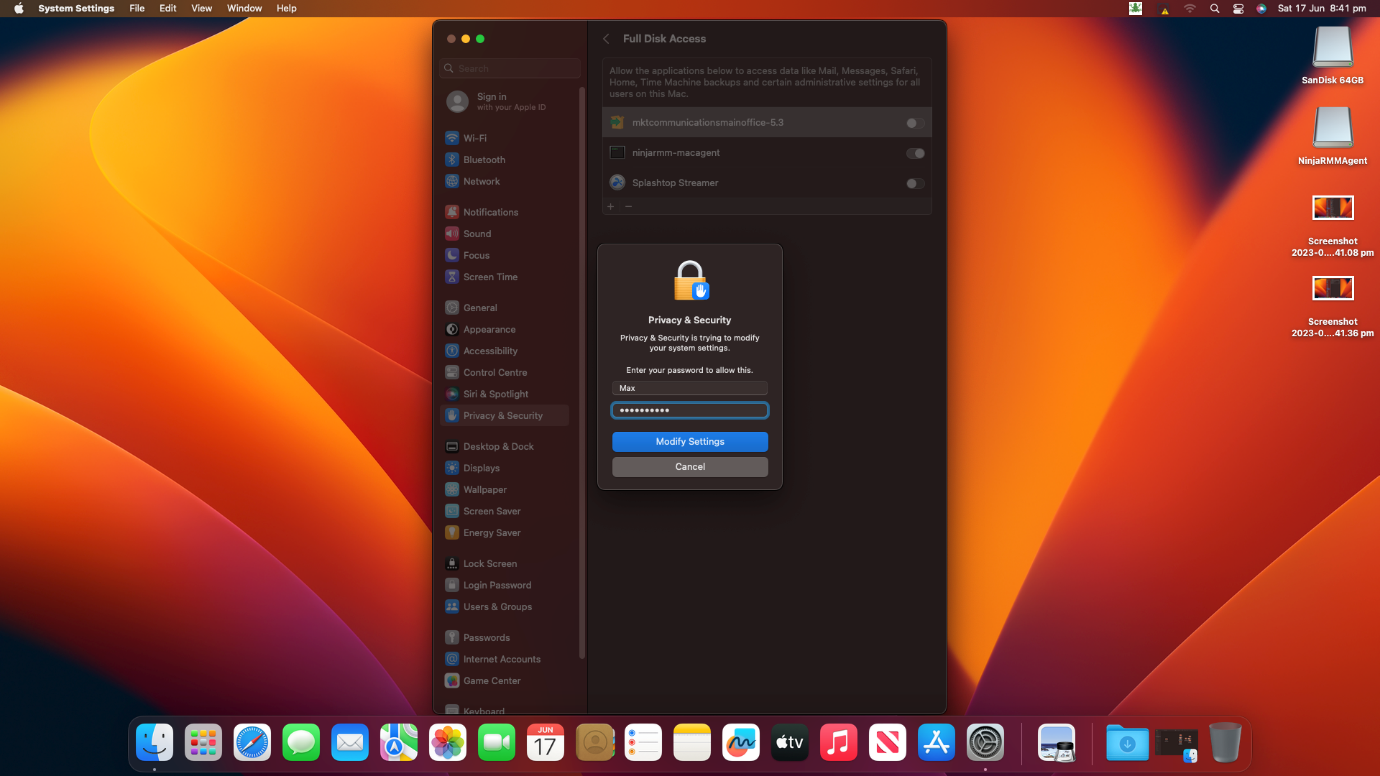
Simply enter the login password when requested, and once done click on Quit and Reopen for Splashtop to restart with the necessary permissions.

- In some situations, you may not find TeamViewer on the list. If that is the case for you, click on the + sign you will see below.

- In Finder window that will open up, click on Application on the left column and then on the right-hand column look for TeamViewer, once you locate it click on it to open.

Once done, TeamViewer will be on the list along side RMM tool and Splashtop with full disk access.
- Next from the Privacy & Security window locate Accessibility under it you should already have Splashtop and TeamViewer, toggle the switch to On. This allows the application to access Keyboard and Mouse so the person helping can control your Mac when required.

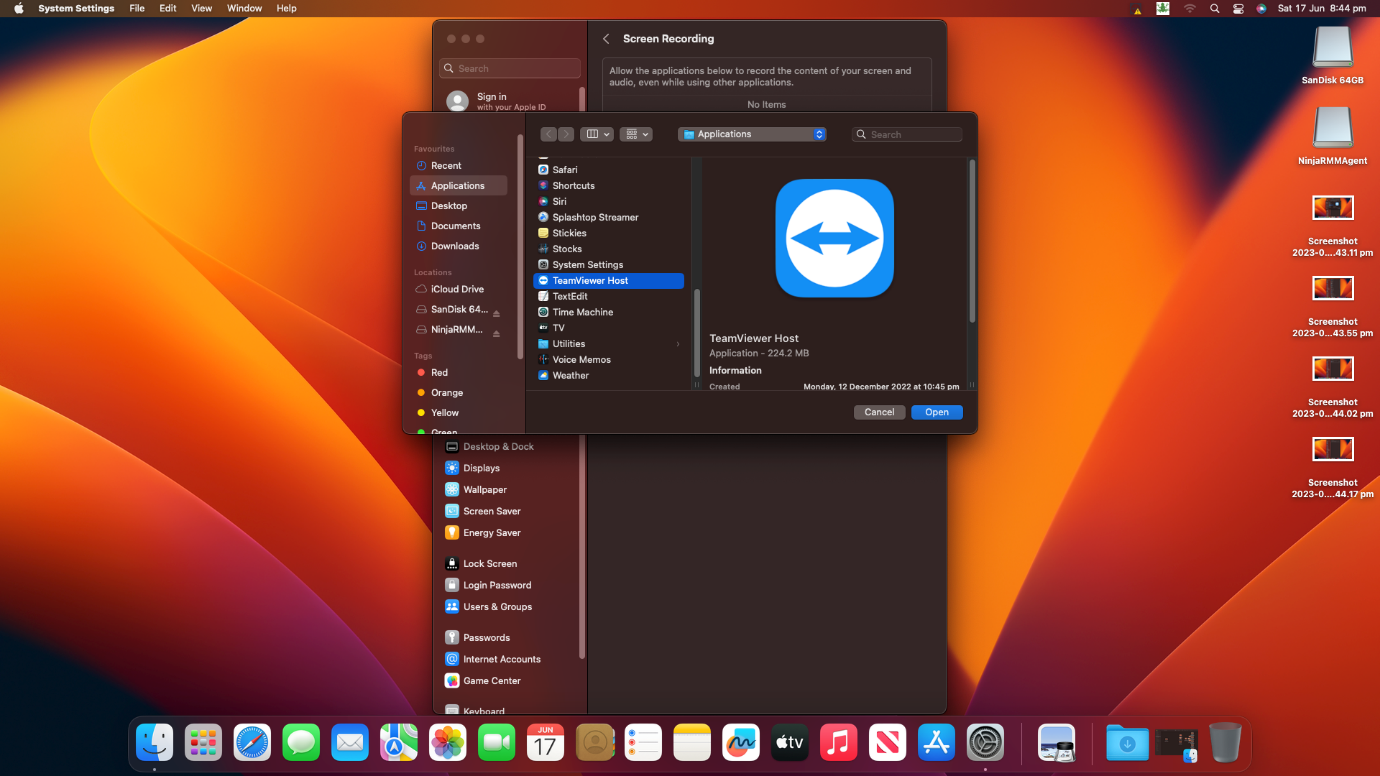
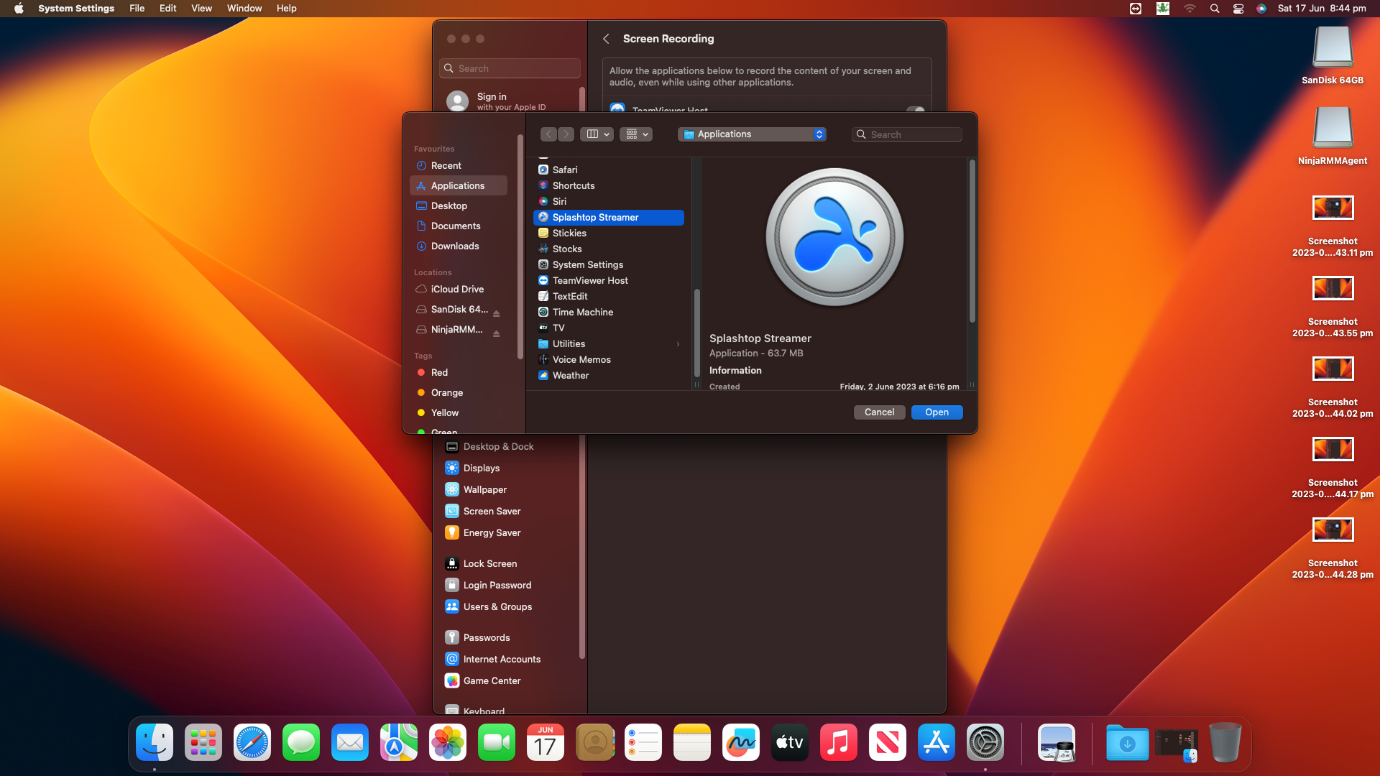
- Next under Security & Privacy locate Screen Recording. The list will be empty, click on the + sign and click on Applications on the finder Window, locate TeamViewer and click Open to add to the list. Repeat the same steps to add Splashtop in as well. Screen recording simply allows us to see your screen during a remote session.

Once you have followed the steps and get to this point, you have successfully installed the RMM tool along with the permission required for it to function correctly. You will also see a Frog icon on the top bar. You can right click on it and press on Log a Support ticket to send through a support request with your details to our help desk.