Simple Mail Transfer Protocol (SMTP) is an internet standard for transmission of electronic emails. SMTP services are used to send and receive emails in a secure manner. It’s an email solution if you are sending mails using any script from your website.
Here is a step by step guide to install and configure SMTP services on Windows Server 2016. SMTP by default uses TCP port 25. Installation or configuration of the SMTP server on Windows 2016 is the same as Windows Server 2012 except for a few differences related to the interface of both the servers.
Let’s start with the configuration steps of SMTP Service on Windows Server 2016
Installation of SMTP Service
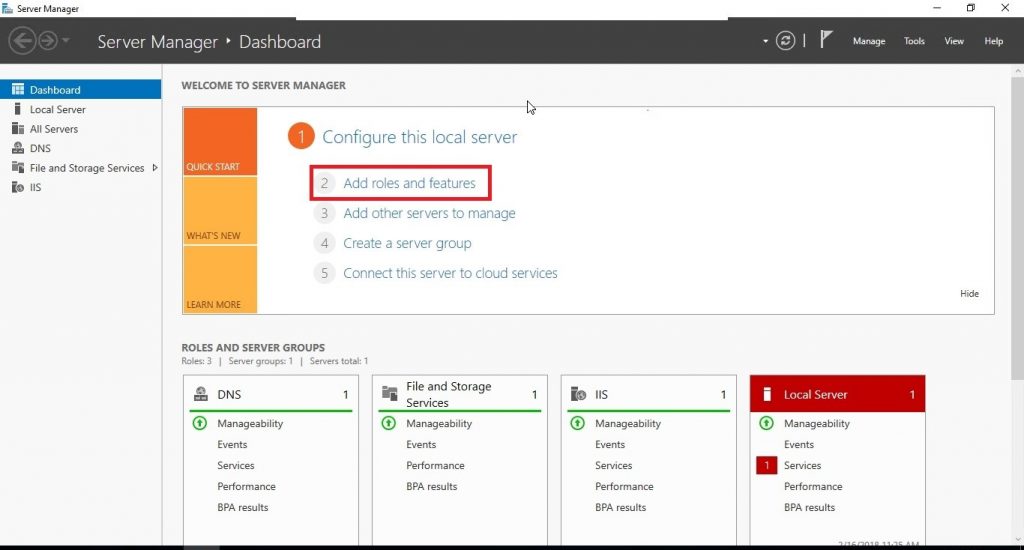
Open the Server Manager Dashboard. Click on ‘Manage’, then ‘Add Role & Features’.
Click on ‘Next’ after this.

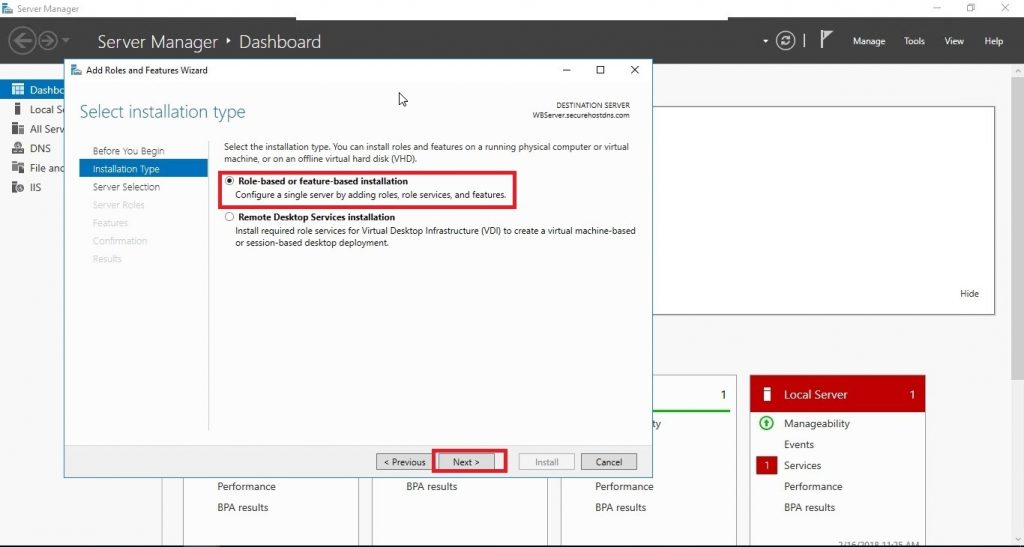
Select ‘Role-based or feature-based installation’, then click ‘Next’.
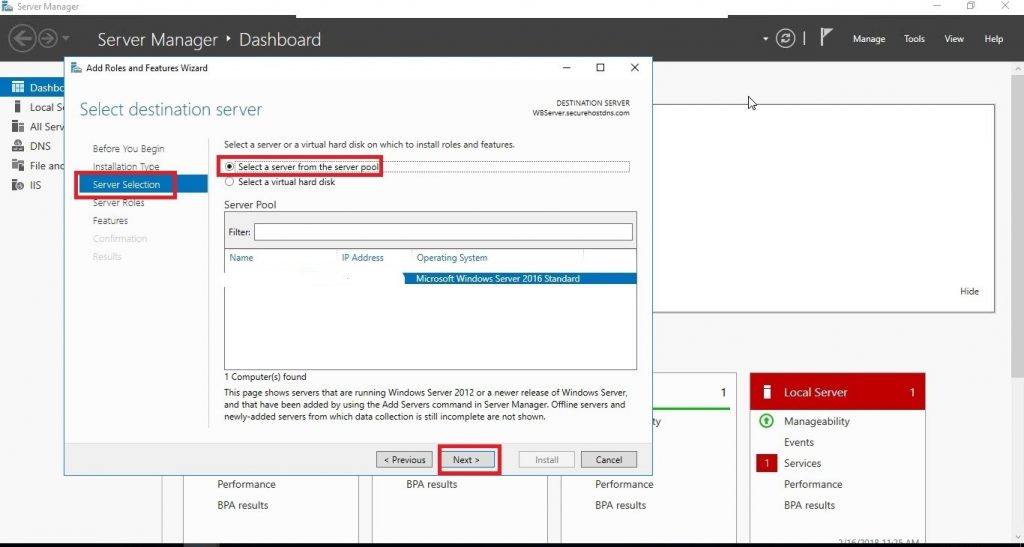
Select a server from pool.
Click on ‘Next’ after selecting the role the server would play.
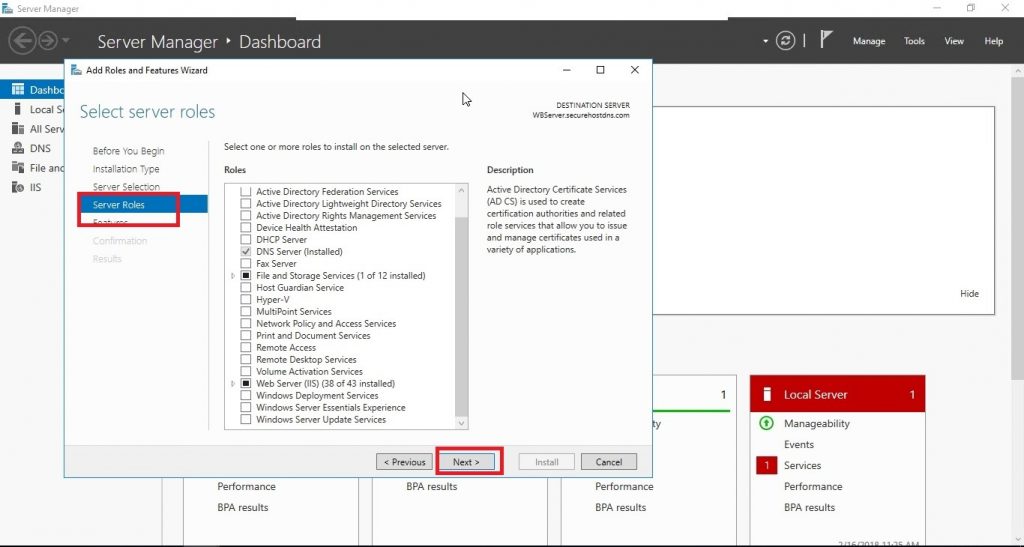
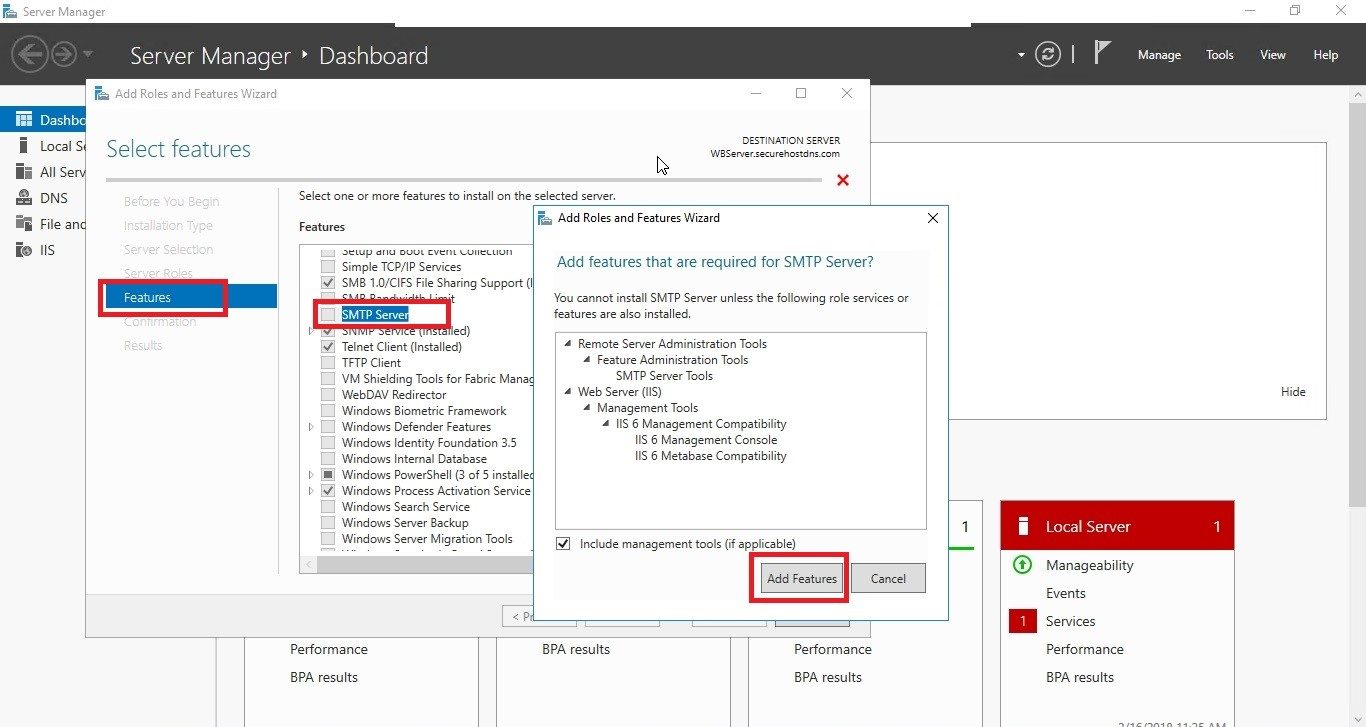
Select ‘Features’. Next scroll down the list and select the ‘SMTP Server’ feature. Then click on next.
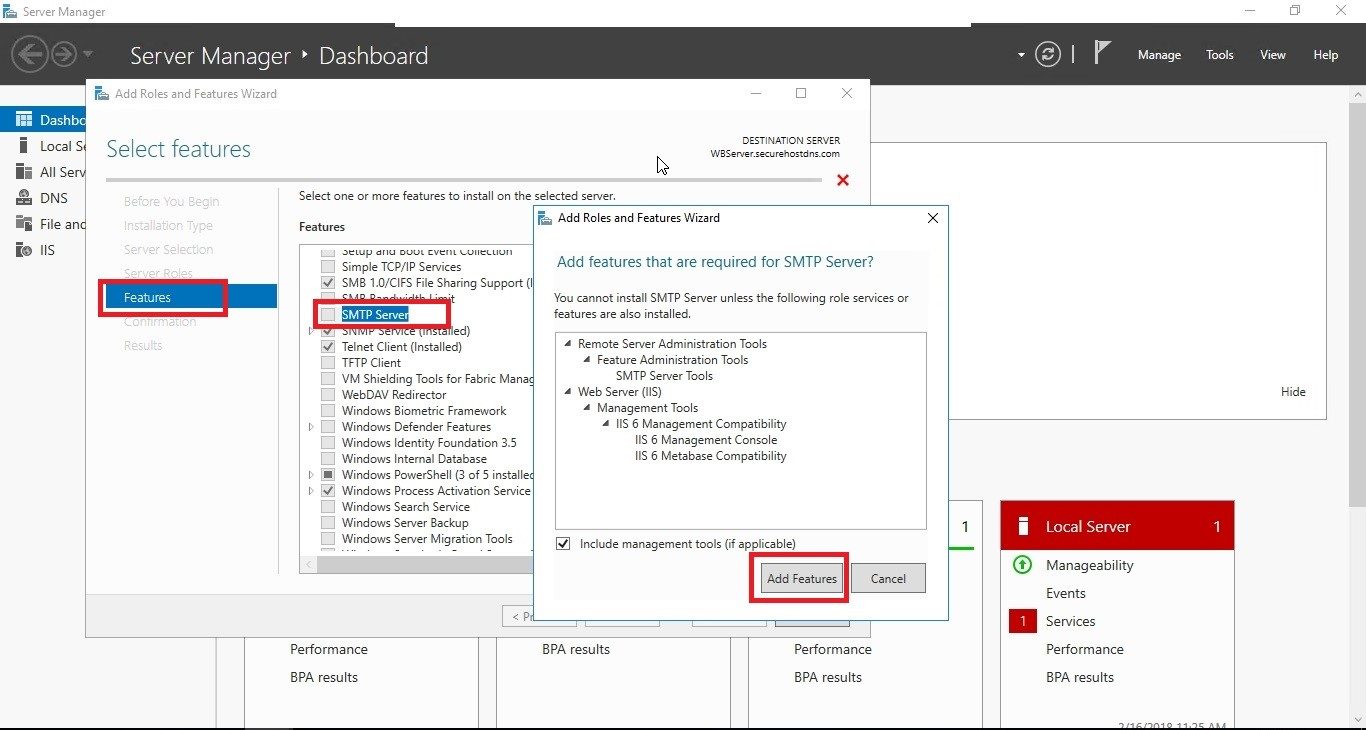
A new window appears to inform you that some other services can also be installed. Click “Add Features” to confirm and continue.
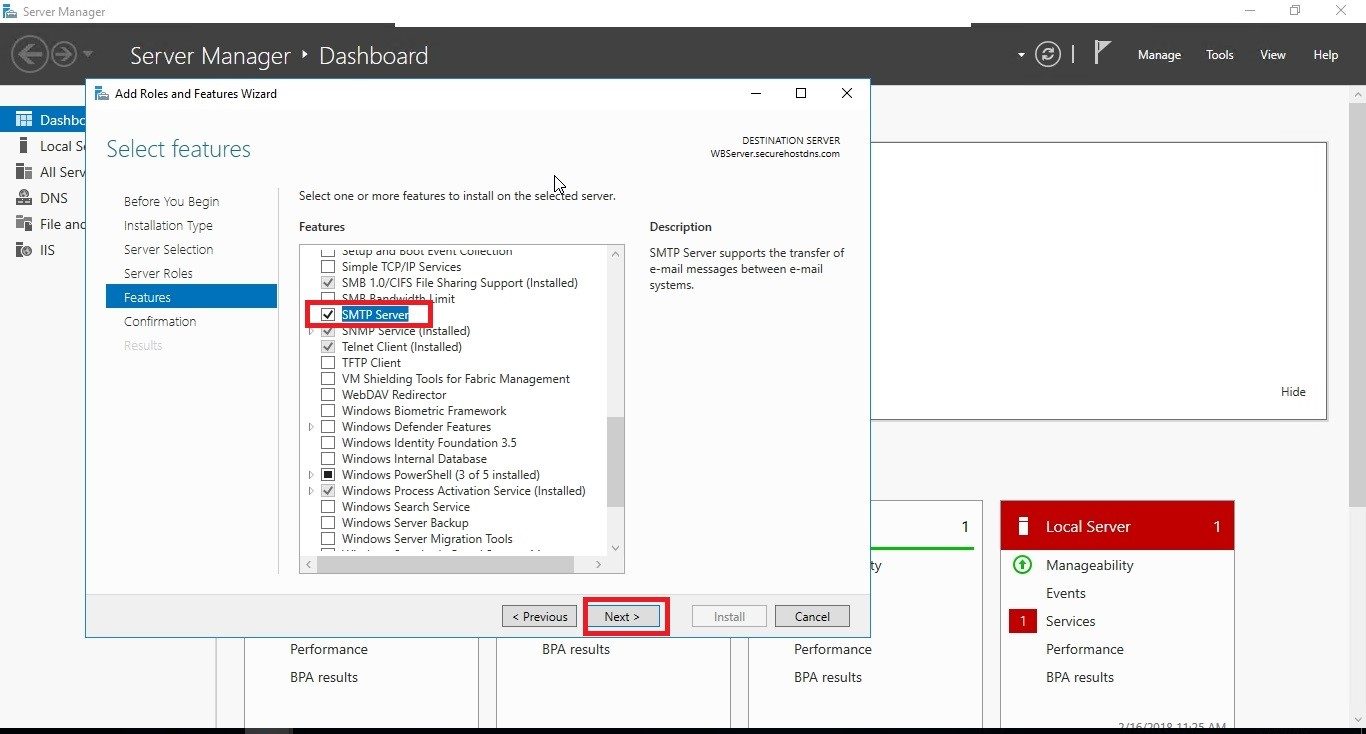
Click on ‘Next’ to continue.
Click on ‘Install’ to complete the installation.

Once the installation has been completed, click on ‘Close’. Close button will appear after complete installation.

Configuration of SMTP Services
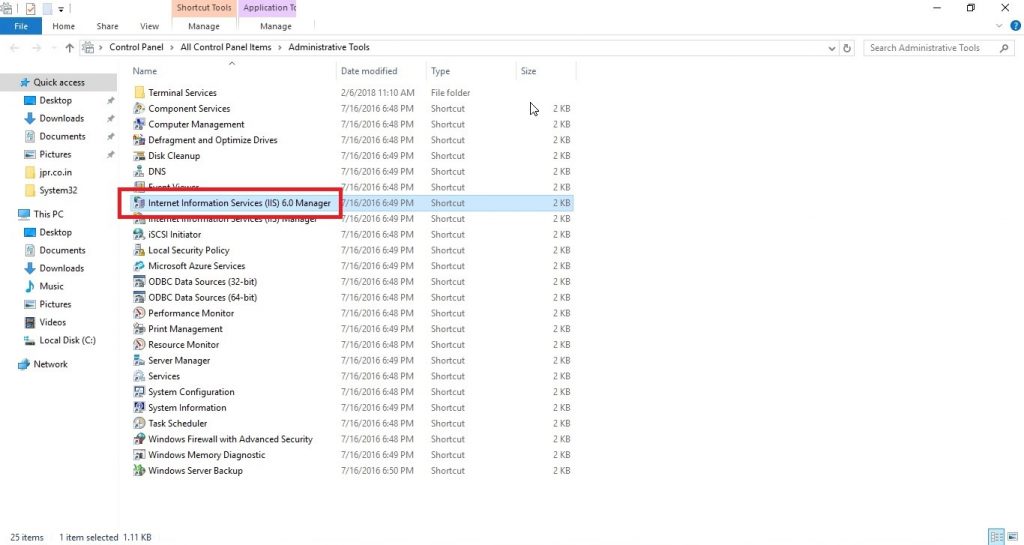
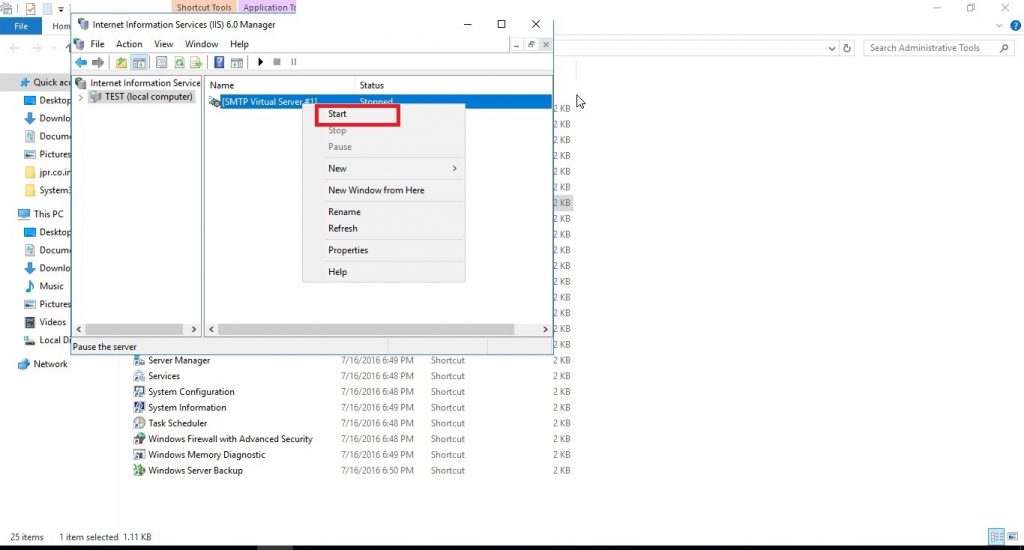
Launch the Internet Information Services (IIS) 6.0 Manager.
Right-click on ‘SMTP Virtual Server #1’ and select ‘Properties’.

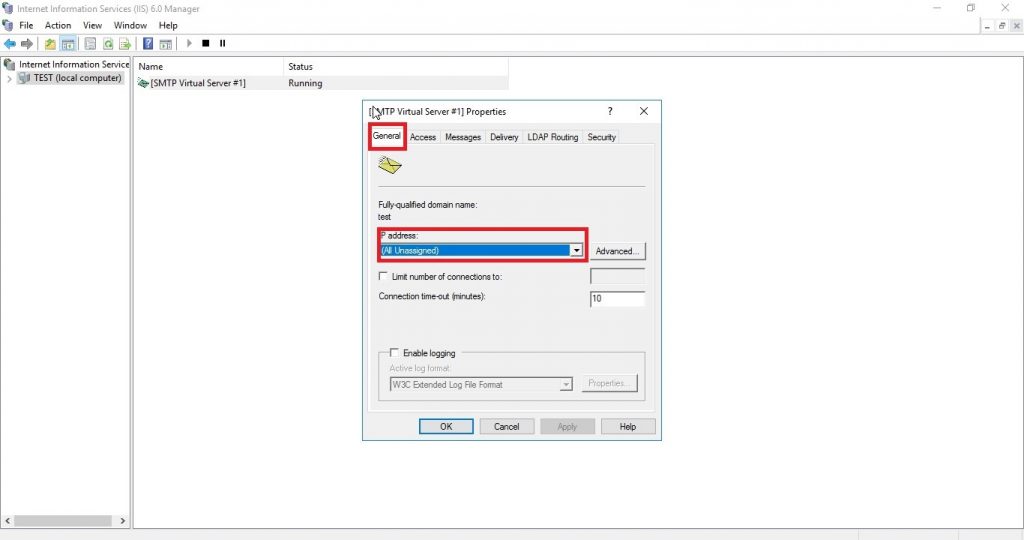
Tap the General tab and change the IP Address to the server’s IP address.
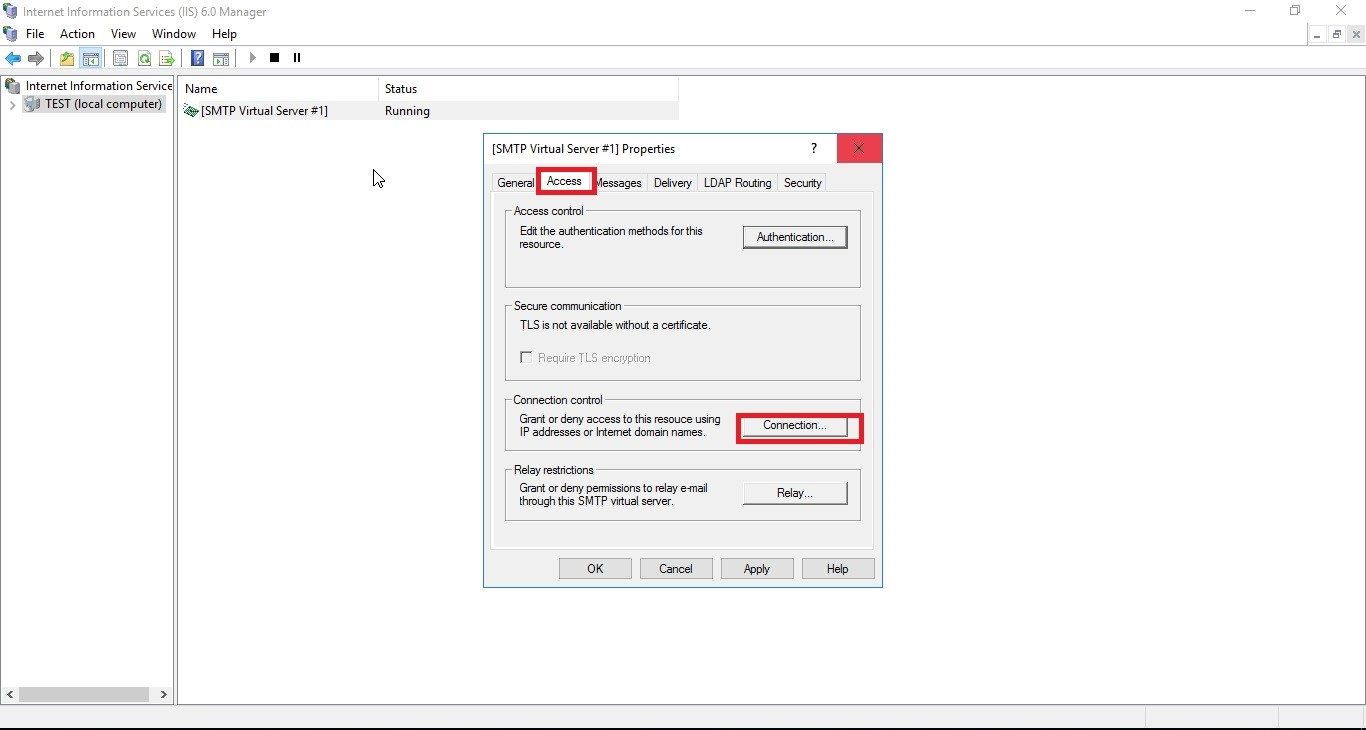
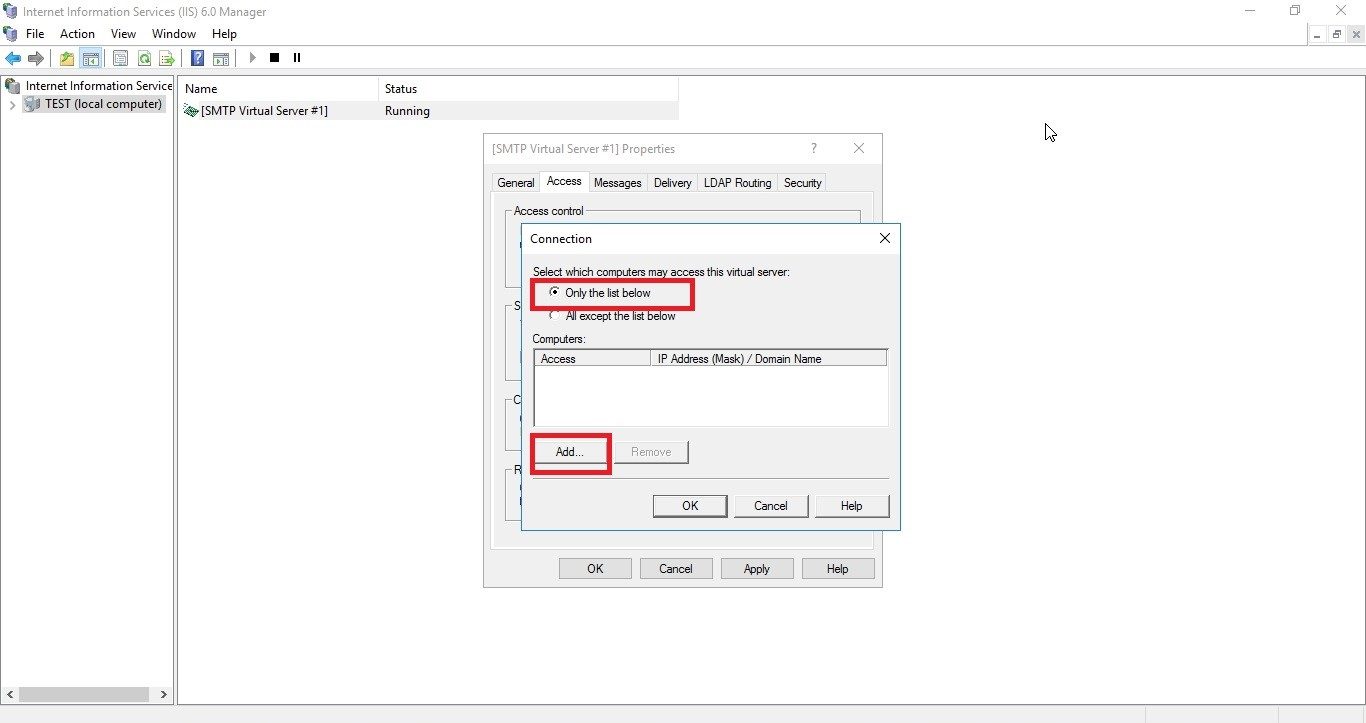
Then tap the ‘Access’ tab and click on the ‘Connection’ button.
In the Connection window, select ‘Only the list below’ and click on the ‘Add’ button.
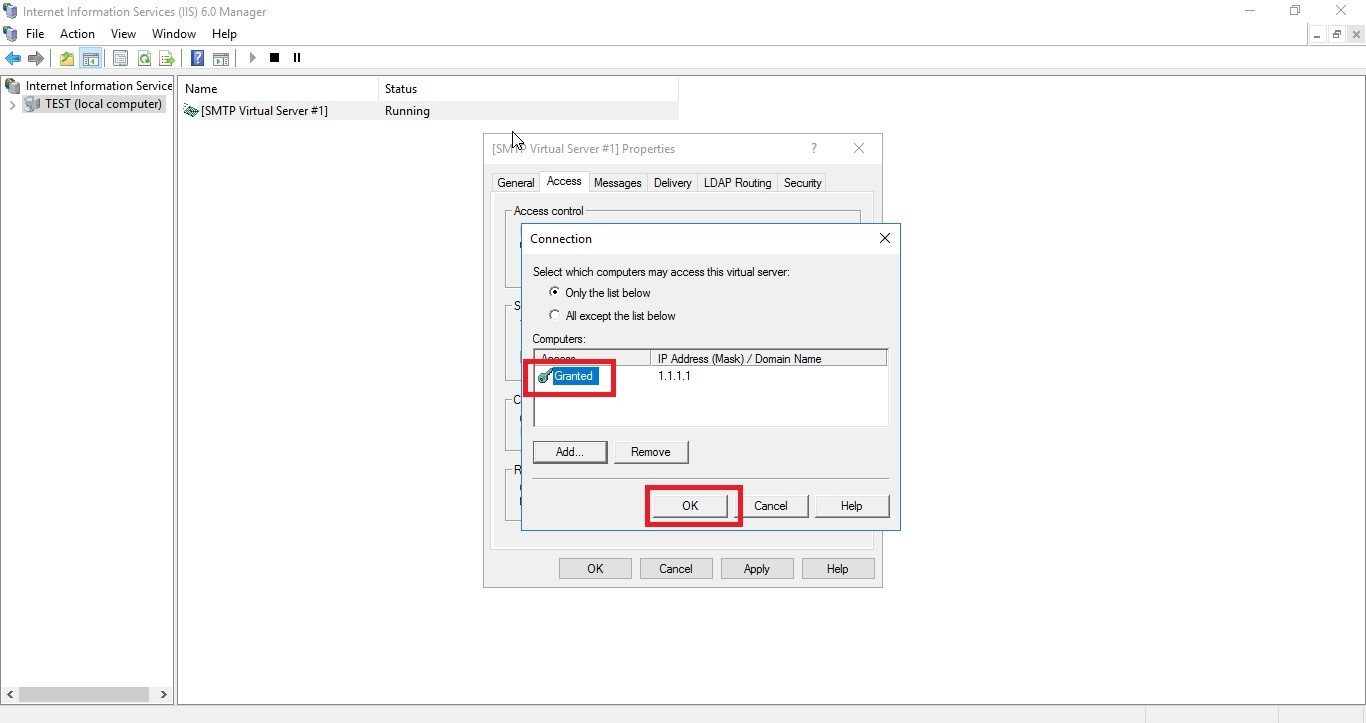
Select the ‘Single computer’ option. To use the internal SMTP, type the IP address, add ‘Group of computers’ or ‘Domain’ of the devices permitted, and then click on the ‘OK’ button.

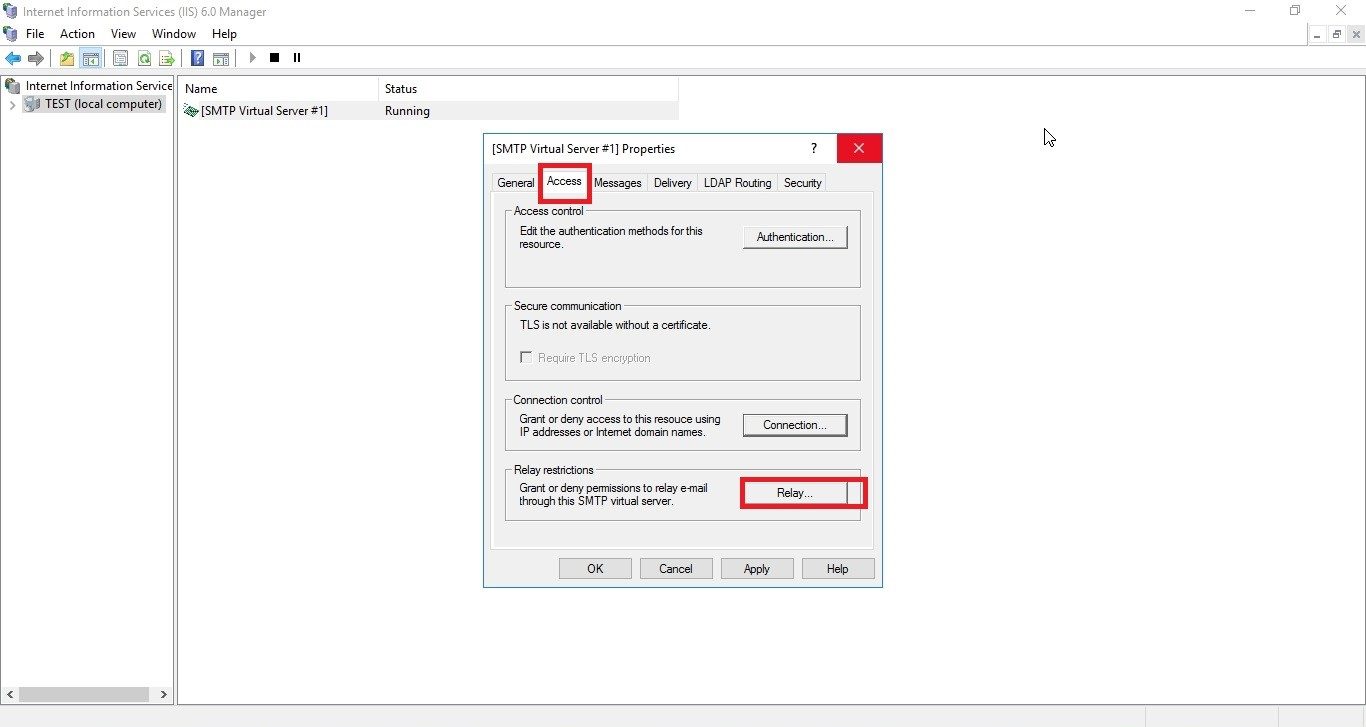
In the ‘Access’ tab of the Connection window, click on the ‘Relay’ button to add the same permitted devices to the Relay restrictions’ list.
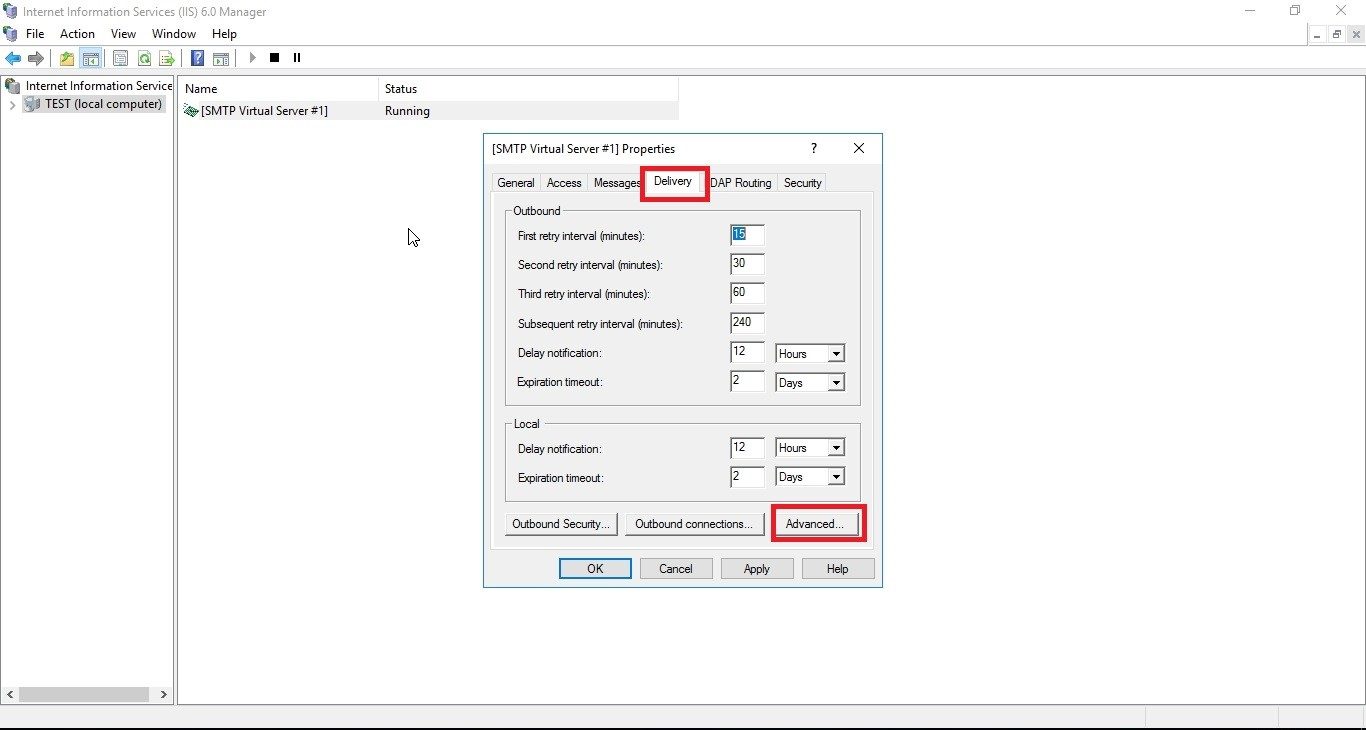
In the ‘Delivery’ tab of the Connection window, set an external domain.

Go to ‘Run’ and type wf.msc. This will launch the Windows Firewall with Advanced Security console.
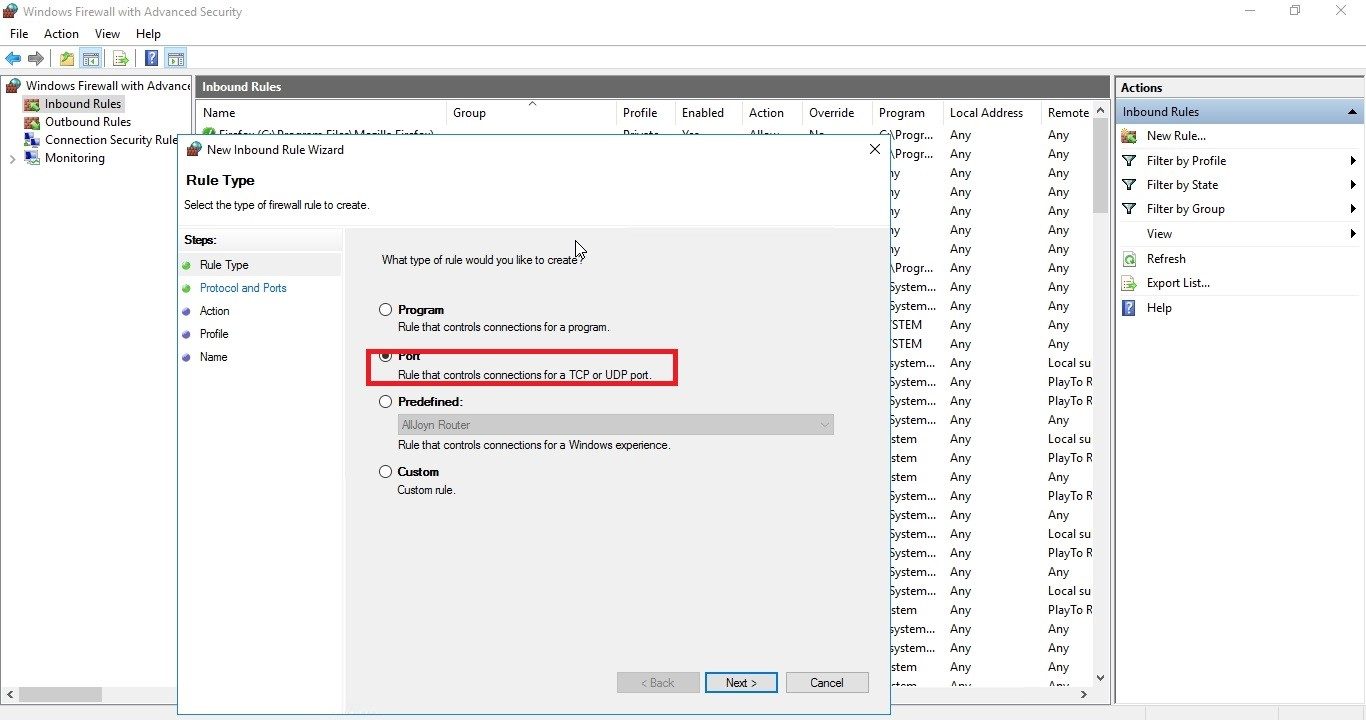
To begin the wizard, right-click on ‘Inbound Rules’ and select ‘New Rule’.

Select ‘Port’ and click on ‘Next’.
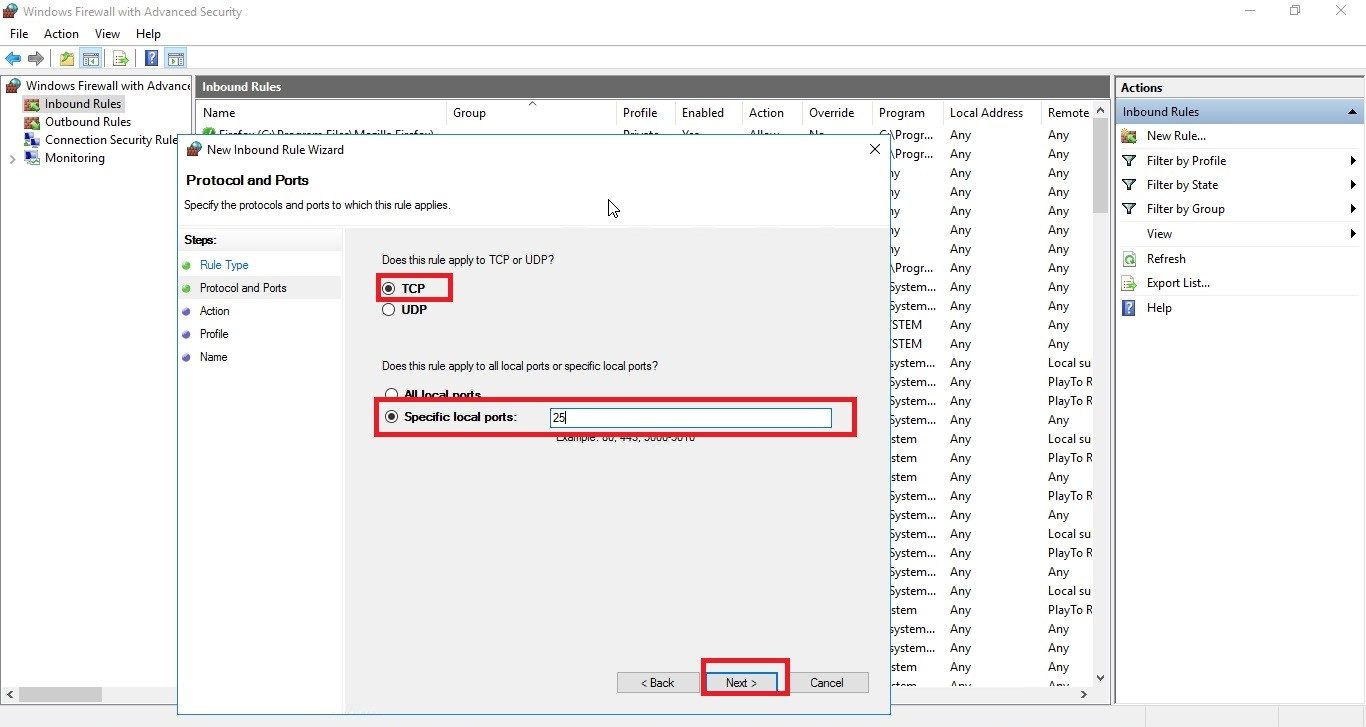
Set the local port to 25 and click on ‘Next’.
Select ‘Allow the connection’ and click on ‘Next’.

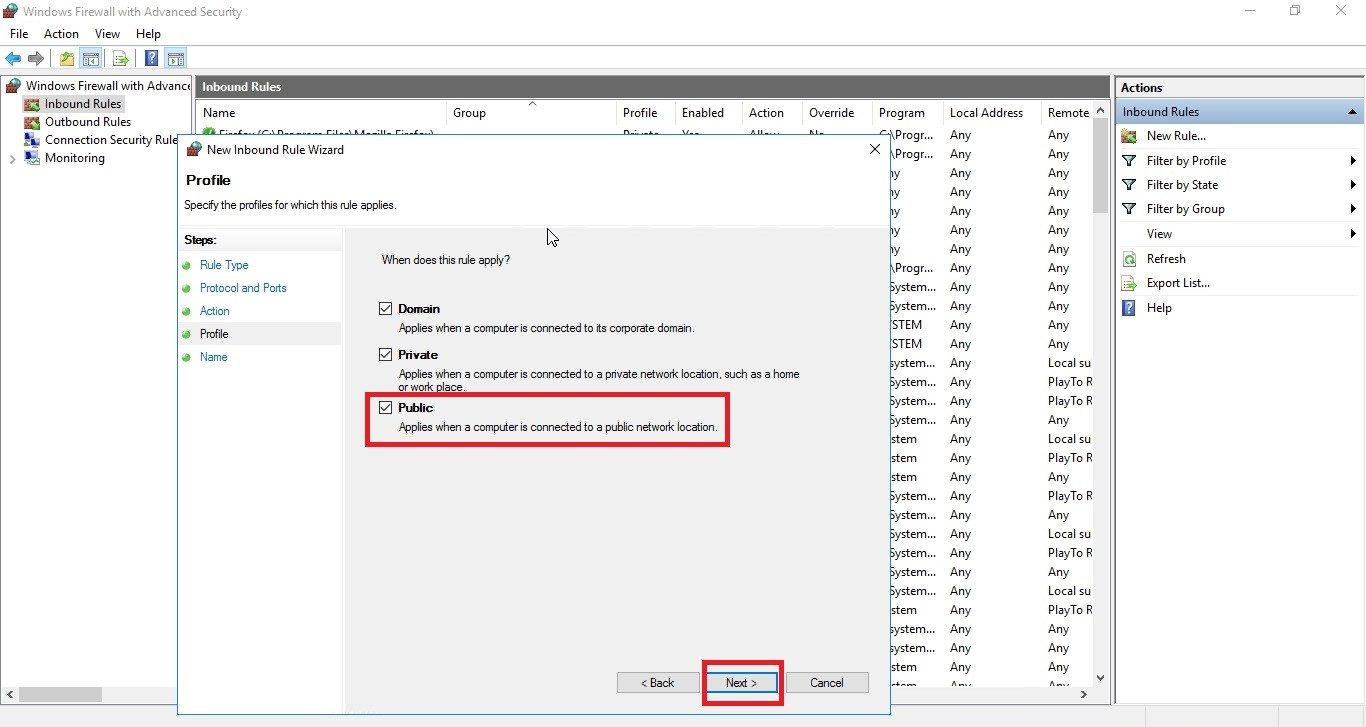
Uncheck ‘Public’ (Ignore if you want to access the services from outside) to prevent external access to the server. Click on ‘Next’.
Give the rule a name, and click on ‘Finish’.
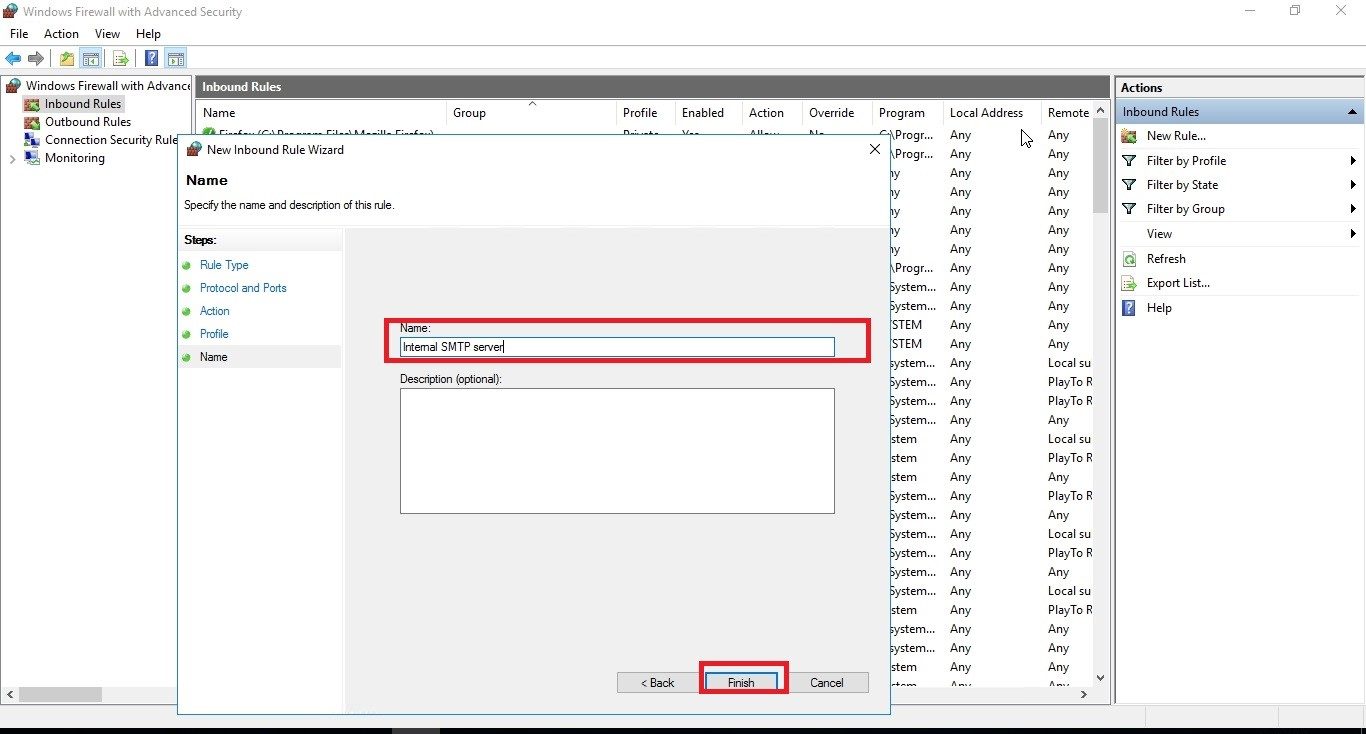
You can now see a new rule enabled in the firewall management console.

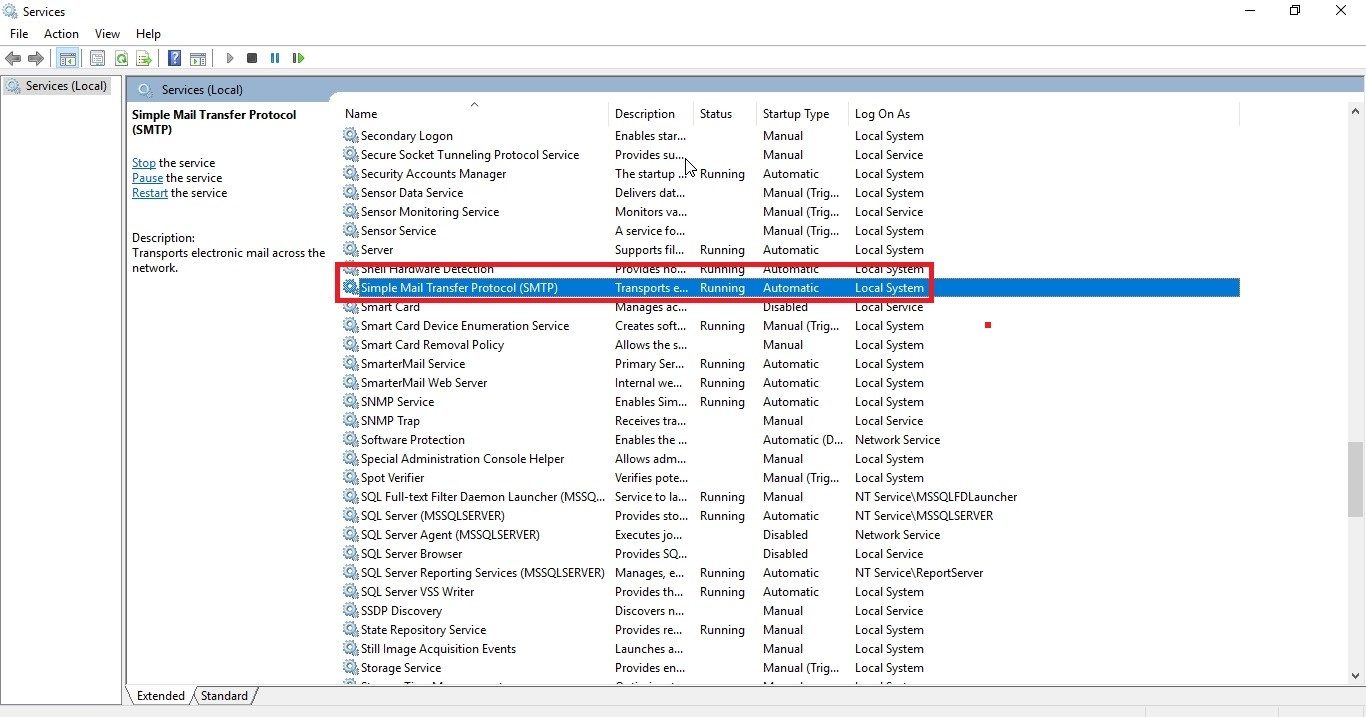
Go to ‘Run’ and type wf.msc.

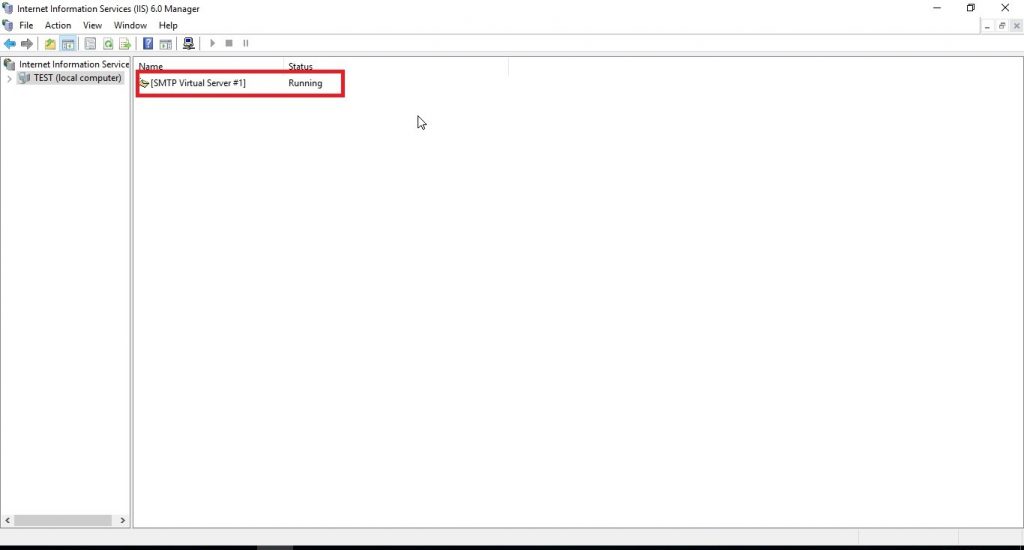
Here you can see that SMTP services are running.
Now you can deliver the mails with your windows server 2016 email server as per your convenience.
Also, you can configure the SMTP server in Linux too. To know how to do it, read the blog – A step by step guide on how to configure SMTP server in Linux”.
No matter which web hosting service – Windows/Linux, you have for your business, if you are not looking for a mail server and just want to send emails through contact-us form, then you can send mails from your server with the above configuration.
Hope this article helps you in setting up SMTP server on Windows 2016 easily. Feel free to drop any queries in the section below.