How To Enable Multiple Remote Desktop (RDP) Sessions
Step 1. Connect to the Windows Server session by RDP.
Step 2. Click The Search button next to the start menu (Windows 2016) or typing into the start menu (Windows Server 2012)

Step 3. Enter in gpedit.msc

Step 4. Once Group Policy Editor had loaded navigate to Computer Configuration, next Administrative Templates, then Windows Components, then Remote Desktop Services, then Remote Desktop Session host.

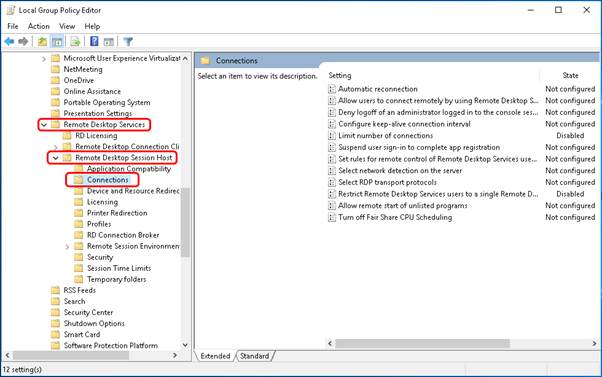
Step 5. From there, you should see a folder marked as Connections, click into it.
Step 6. Next right click with your mouse on Limit Number of Connections and click Edit.

Step 7. From there, you can set the number to the limit you wish to have, or turn it off.

For access to more than two sessions at a time, you will want to purchase a RDS Cal license from a certified provider. You can purchase a Remote Desktop Service Client Access License from Microsoft.
Step 8. Next, click Next Setting until you are at the Restrict Remote Desktop Services users to a single Remote Desktop Services session screen so you can Edit this setting.

Step 9. In this window, you can click Disabled to turn off the user restrictions.
Step 10. Finally, reboot the server from your Cloud Control Overview page and the group policy changes should automatically apply.
Reversing These Changes
The process to reverse the changes is easy. You would follow the same steps above, and set the desired Group Policies to Not Configured and select Enabled or Disabled.